Getting Started with Ignite UI for Blazor WebAssembly
This topic provides step-by-step instructions for creating Blazor WebAssembly applications with Ignite UI for Blazor using Visual Studio.
Create a New Blazor WebAssembly Project
The steps below describe how to create a new Blazor WebAssembly project. If you want to add Ignite UI for Blazor to an existing application, go to the Install Ignite UI for Blazor Package section.
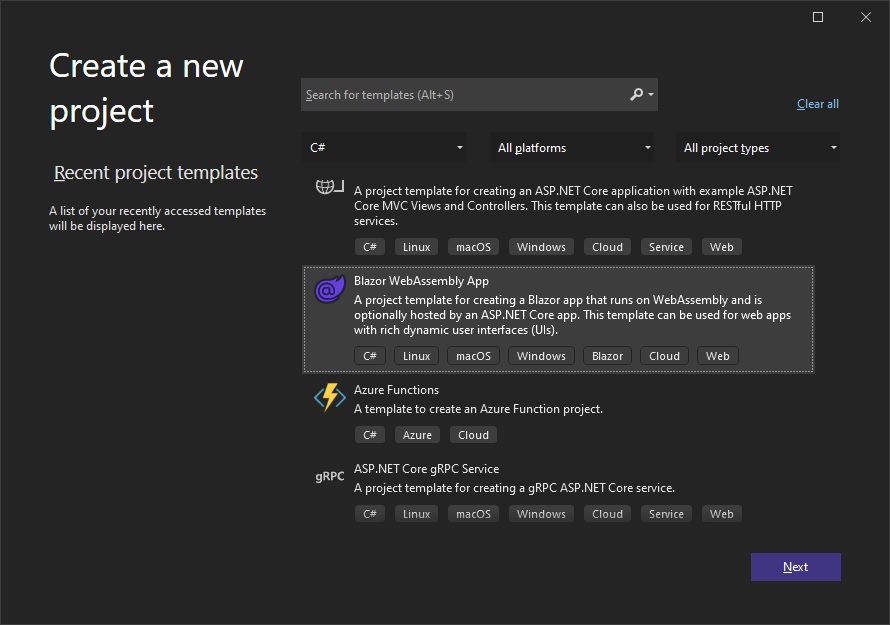
Start Visual Studio 2022 and click Create a new project on the start page, select the Blazor WebAssembly App template, and click Next.
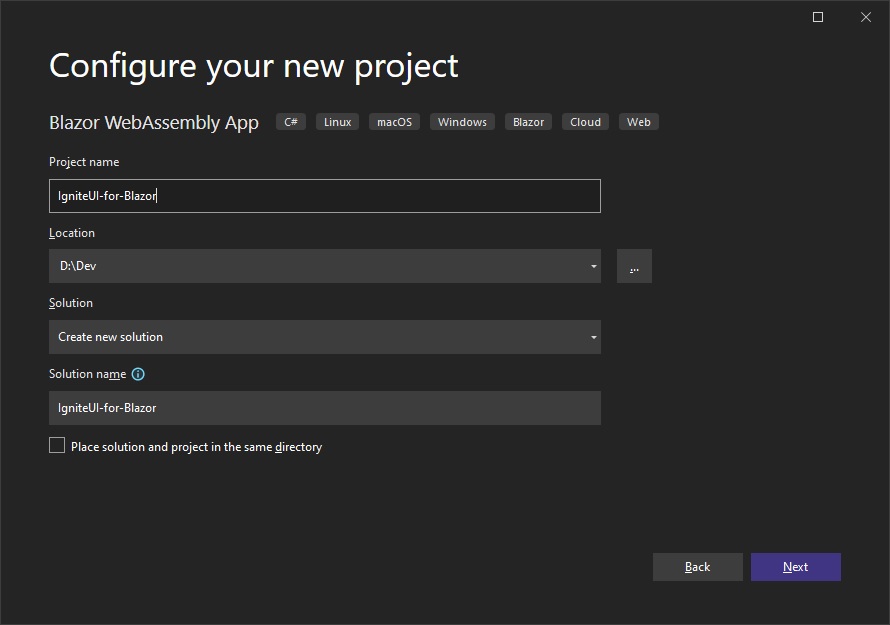
Provide a project name and location, and click Next
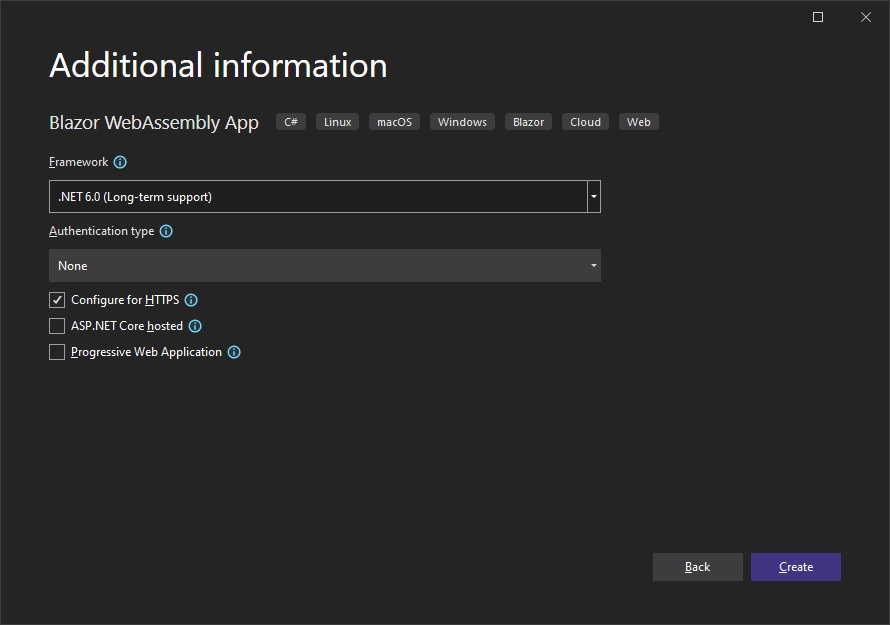
Specify additional project options, and click Create
Install Ignite UI for Blazor
Ignite UI for Blazor is delivered via NuGet packages. To use the Ignite UI for Blazor components in your Blazor applications, you must first install the appropriate NuGet packages.
In Visual Studio, open the NuGet package manager by selecting Tools → NuGet Package Manager → Manage NuGet Packages for Solution. Search for and install the IgniteUI.Blazor NuGet package.
For more information on installing Ignite UI for Blazor using NuGet, read the Installing Ignite UI for Blazor topic.
Register Ignite UI for Blazor
.NET 6 and Later Applications
1 - Open the Program.cs file and register the Ignite UI for Blazor Service by calling builder.Services.AddIgniteUIBlazor function:
var builder = WebAssemblyHostBuilder.CreateDefault(args);
// ...
builder.Services.AddIgniteUIBlazor();

await builder.Build().RunAsync();
2 - Add the IgniteUI.Blazor.Controls namespace in the _Imports.razor file:
@using IgniteUI.Blazor.Controls
3 - Add the Style Sheet in the <head> element of the wwwroot/index.html file:
<head>
    <link href="_content/IgniteUI.Blazor/themes/light/bootstrap.css" rel="stylesheet" />
</head>
4 - Add Script Reference to the wwwroot/index.html file:
<script src="_content/IgniteUI.Blazor/app.bundle.js"></script>
<script src="_framework/blazor.webassembly.js"></script>
.NET 5 Applications
1 - Open the Program.cs file and register the Ignite UI for Blazor Service by calling builder.Services.AddIgniteUIBlazor function:
public static async Task Main(string[] args)
{
    var builder = WebAssemblyHostBuilder.CreateDefault(args);
    // ...
    builder.Services.AddIgniteUIBlazor();
}
- Continue with step 2 in the .NET 6 and Later Applications section
Add Ignite UI for Blazor Component
Add an Ignite UI for Blazor component to your razor page:
<IgbCard style="width:350px">
    <IgbCardMedia>
        <img src="https://images.unsplash.com/photo-1541516160071-4bb0c5af65ba?ixlib=rb-1.2.1&ixid=eyJhcHBfaWQiOjEyMDd9&auto=format&fit=crop&w=350&q=80" />
    </IgbCardMedia>
    <IgbCardHeader>
        <h4>Jane Doe</h4>
        <h6>Professional Photographer</h6>
    </IgbCardHeader>
    <IgbCardContent>Hi! I'm Jane, photographer and filmmaker.
        Photography is a way of feeling, of touching,
        of loving. What you have caught on film is captured forever...
        it remembers little things, long after you have
        forgotten everything.</IgbCardContent>
    <IgbCardActions>
        <IgbButton>More Info</IgbButton>
    </IgbCardActions>
</IgbCard>
Build and run the Blazor app.